
A few weeks ago, one of girlfriend’s friends asked if I would be willing to do a maternity photoshoot for her. Apparently word of my upcoming photography skills had made its way around New York City. I had never done a serious photoshoot before so I offered to do it for free in exchange for low expectations around the quality of the final product. Fair deal, right?
The Mood Board
The first step in this process, was to put together a mood board. What in the devil, you might ask, is a mood board? The dictionary definition is “an arrangement of images, materials, pieces of text, etc., intended to evoke or project a particular style or concept”. The practical implication is that a mood board is essentially a powerful tool for an artist to convey what they have in mind, and to understand what someone else has on their mind. Let me give you an example.
Two years ago, I was trying to come up with ideas for a wall art project for my apartment. I spent multiple hours browsing around Pinterest, Instagram, and Google images to look at random pictures of wall art and seeing which ones I liked most. Anything I found interesting, I pinned into a special Pinterest board that I had set up. Here’s a screenshot of what I had:
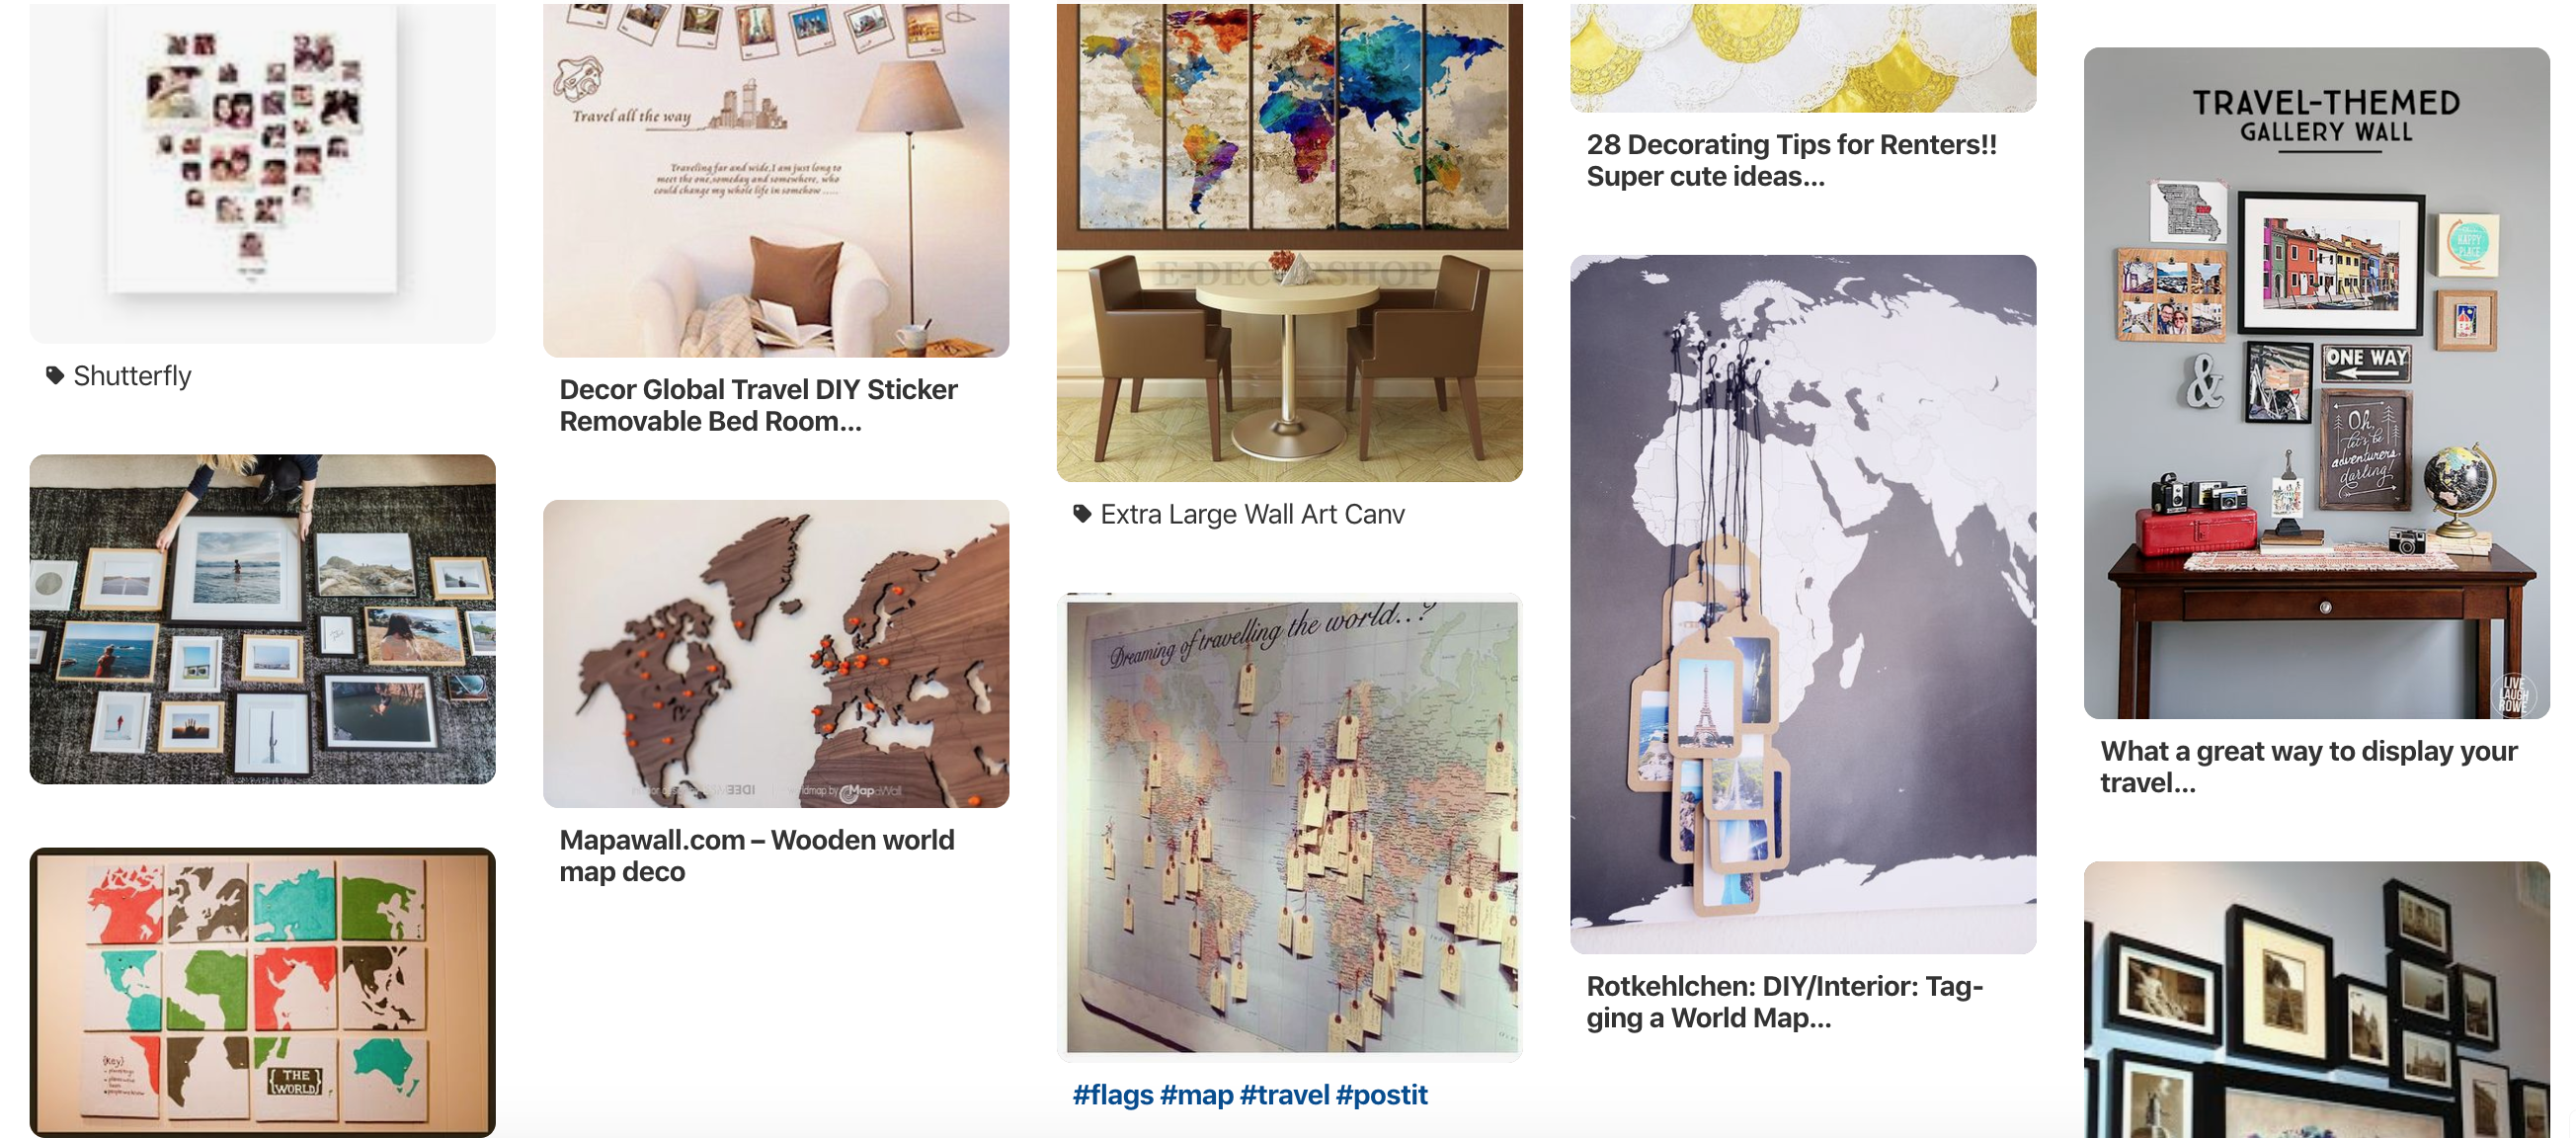
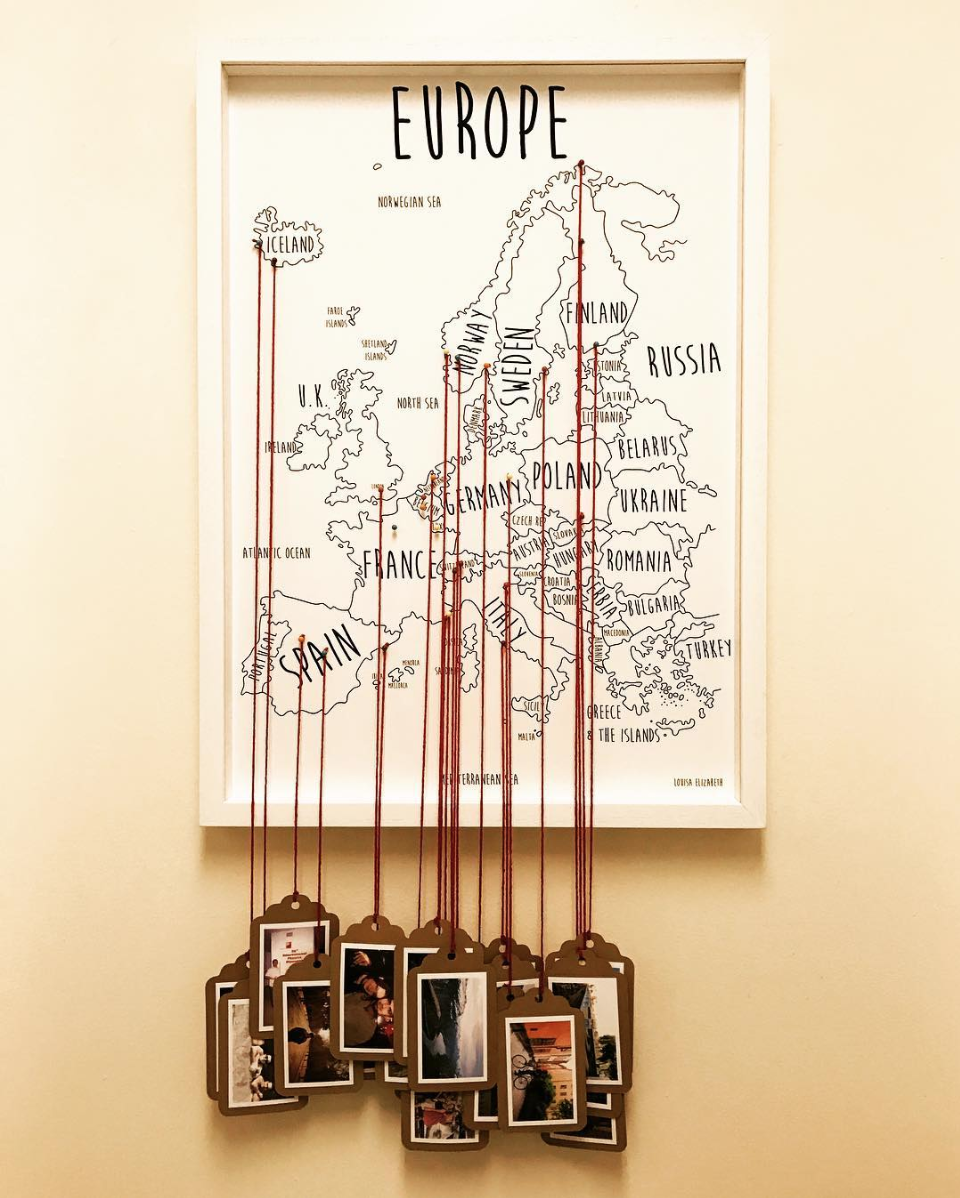
This is basically a mood board that is supposed to convey my artistic vision. If you spend even 5 seconds looking at this, you won’t be surprised that I ended up making this:
Pinterest is basically a mood board for millennials. It’s a way to put together a bunch of images that convey artistic ideas. As such, the first step to preparing for this photoshoot was to ask the couple for a mood board that showed what images resonated with them the most. Here’s a sample of what they sent me. Take a look and think of the first few words that come to your mind. I’ll tell you mine once you’ve had a chance to think of yours:
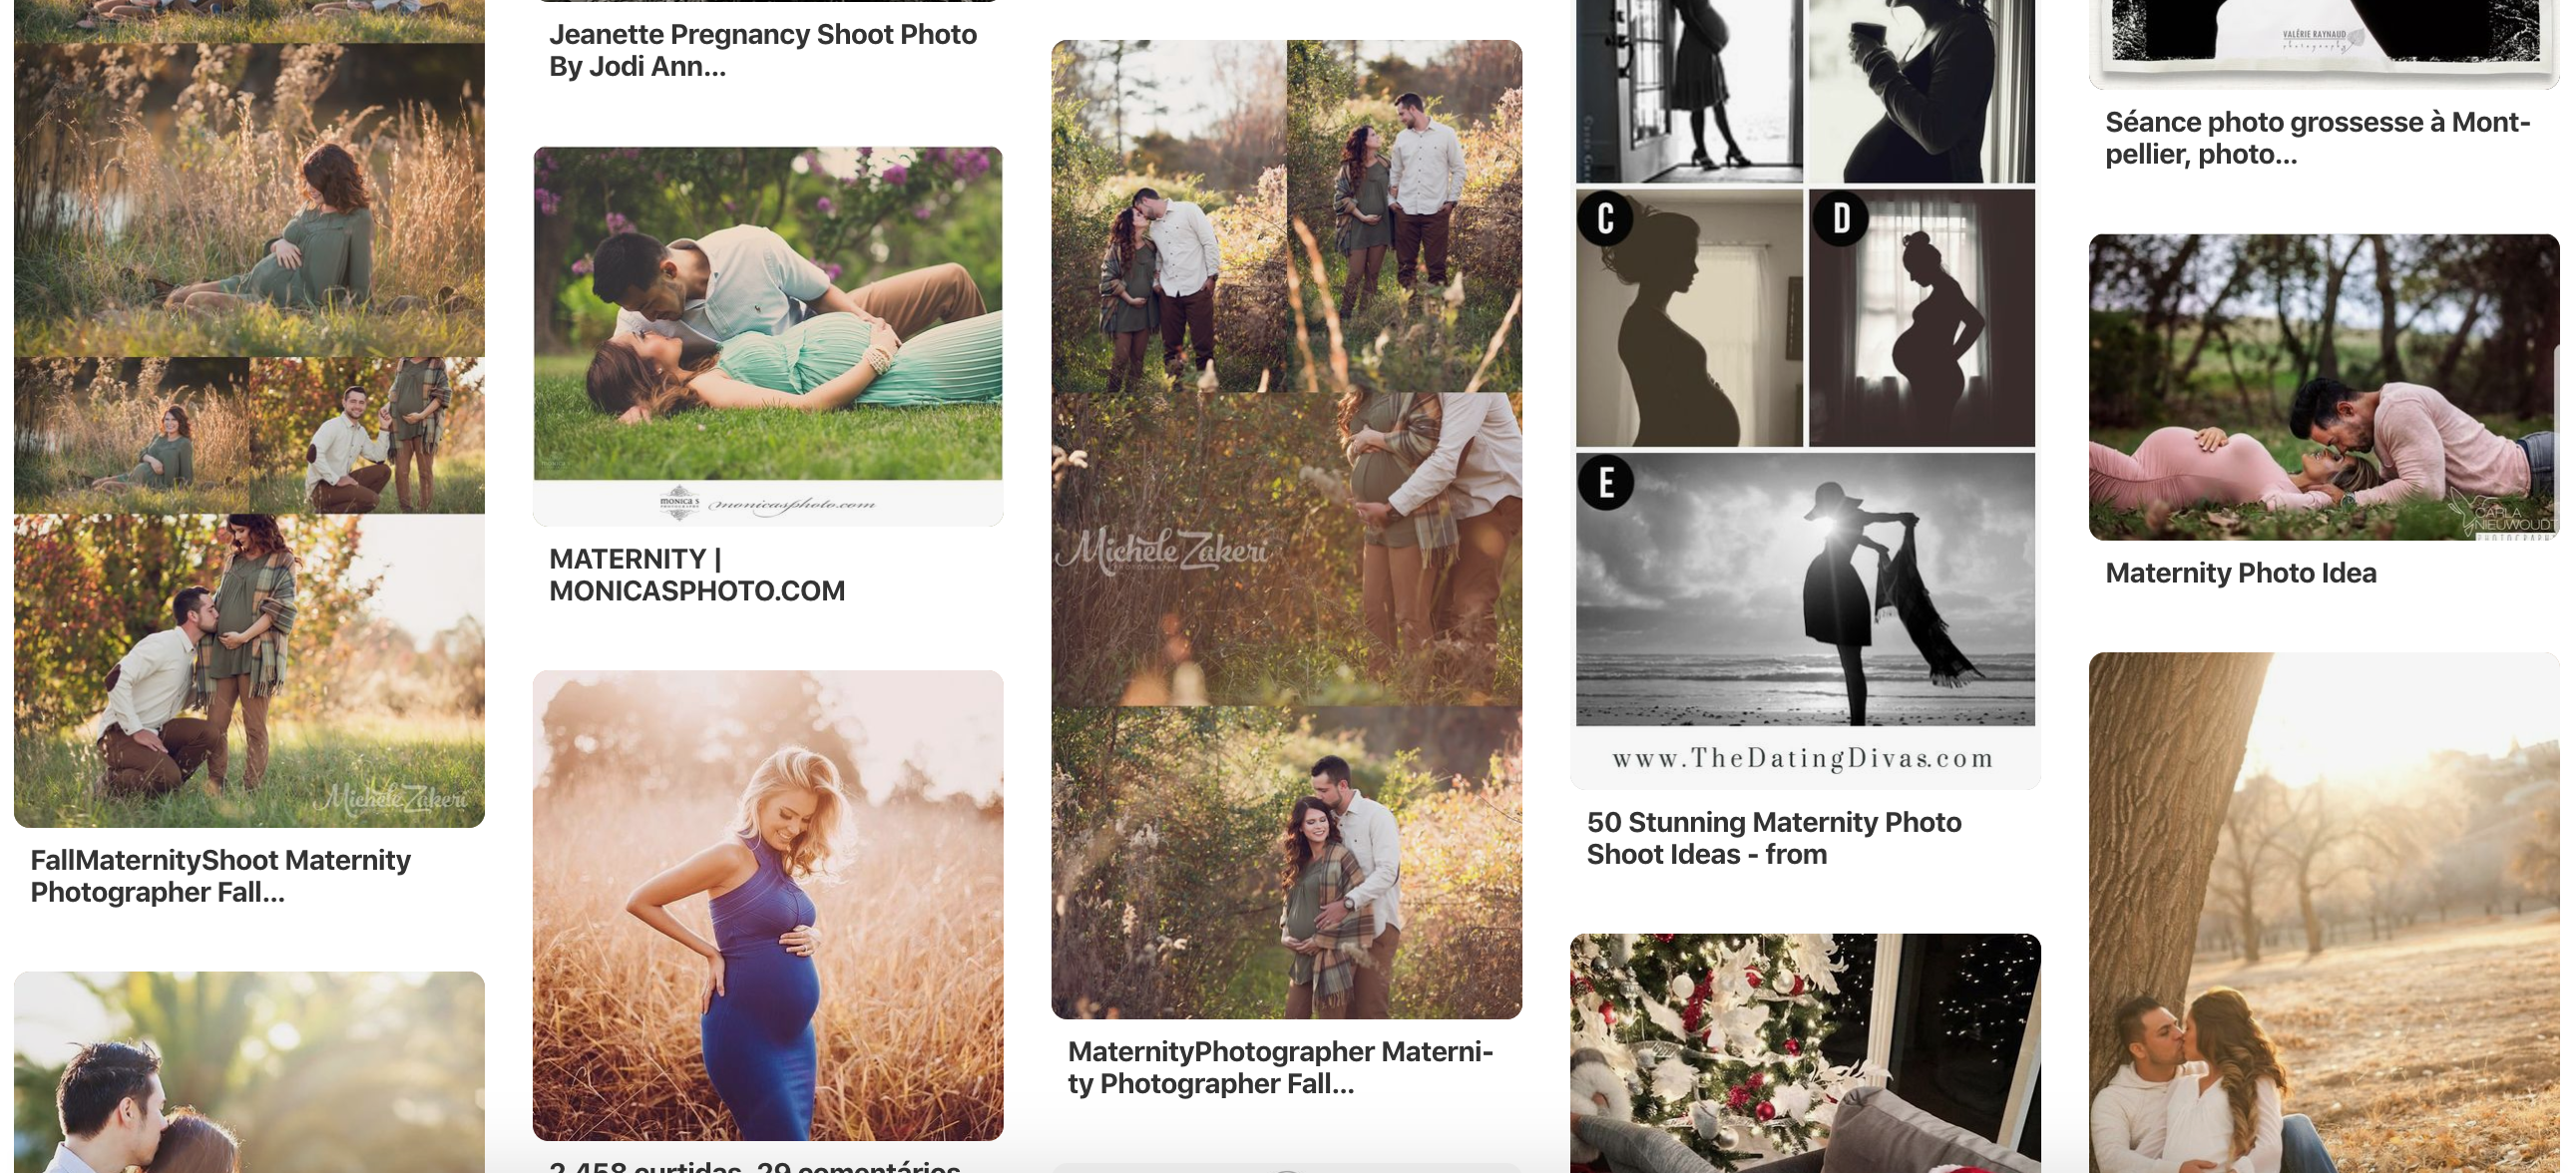
These are the words that came to my mind when I saw this: nature, golden hour, shoes, bokeh, romance. The point though, is that words were not enough to help me understand their vision, but this mood board gave me a pretty good idea of what the photos should look like.
Ideation, location, timing
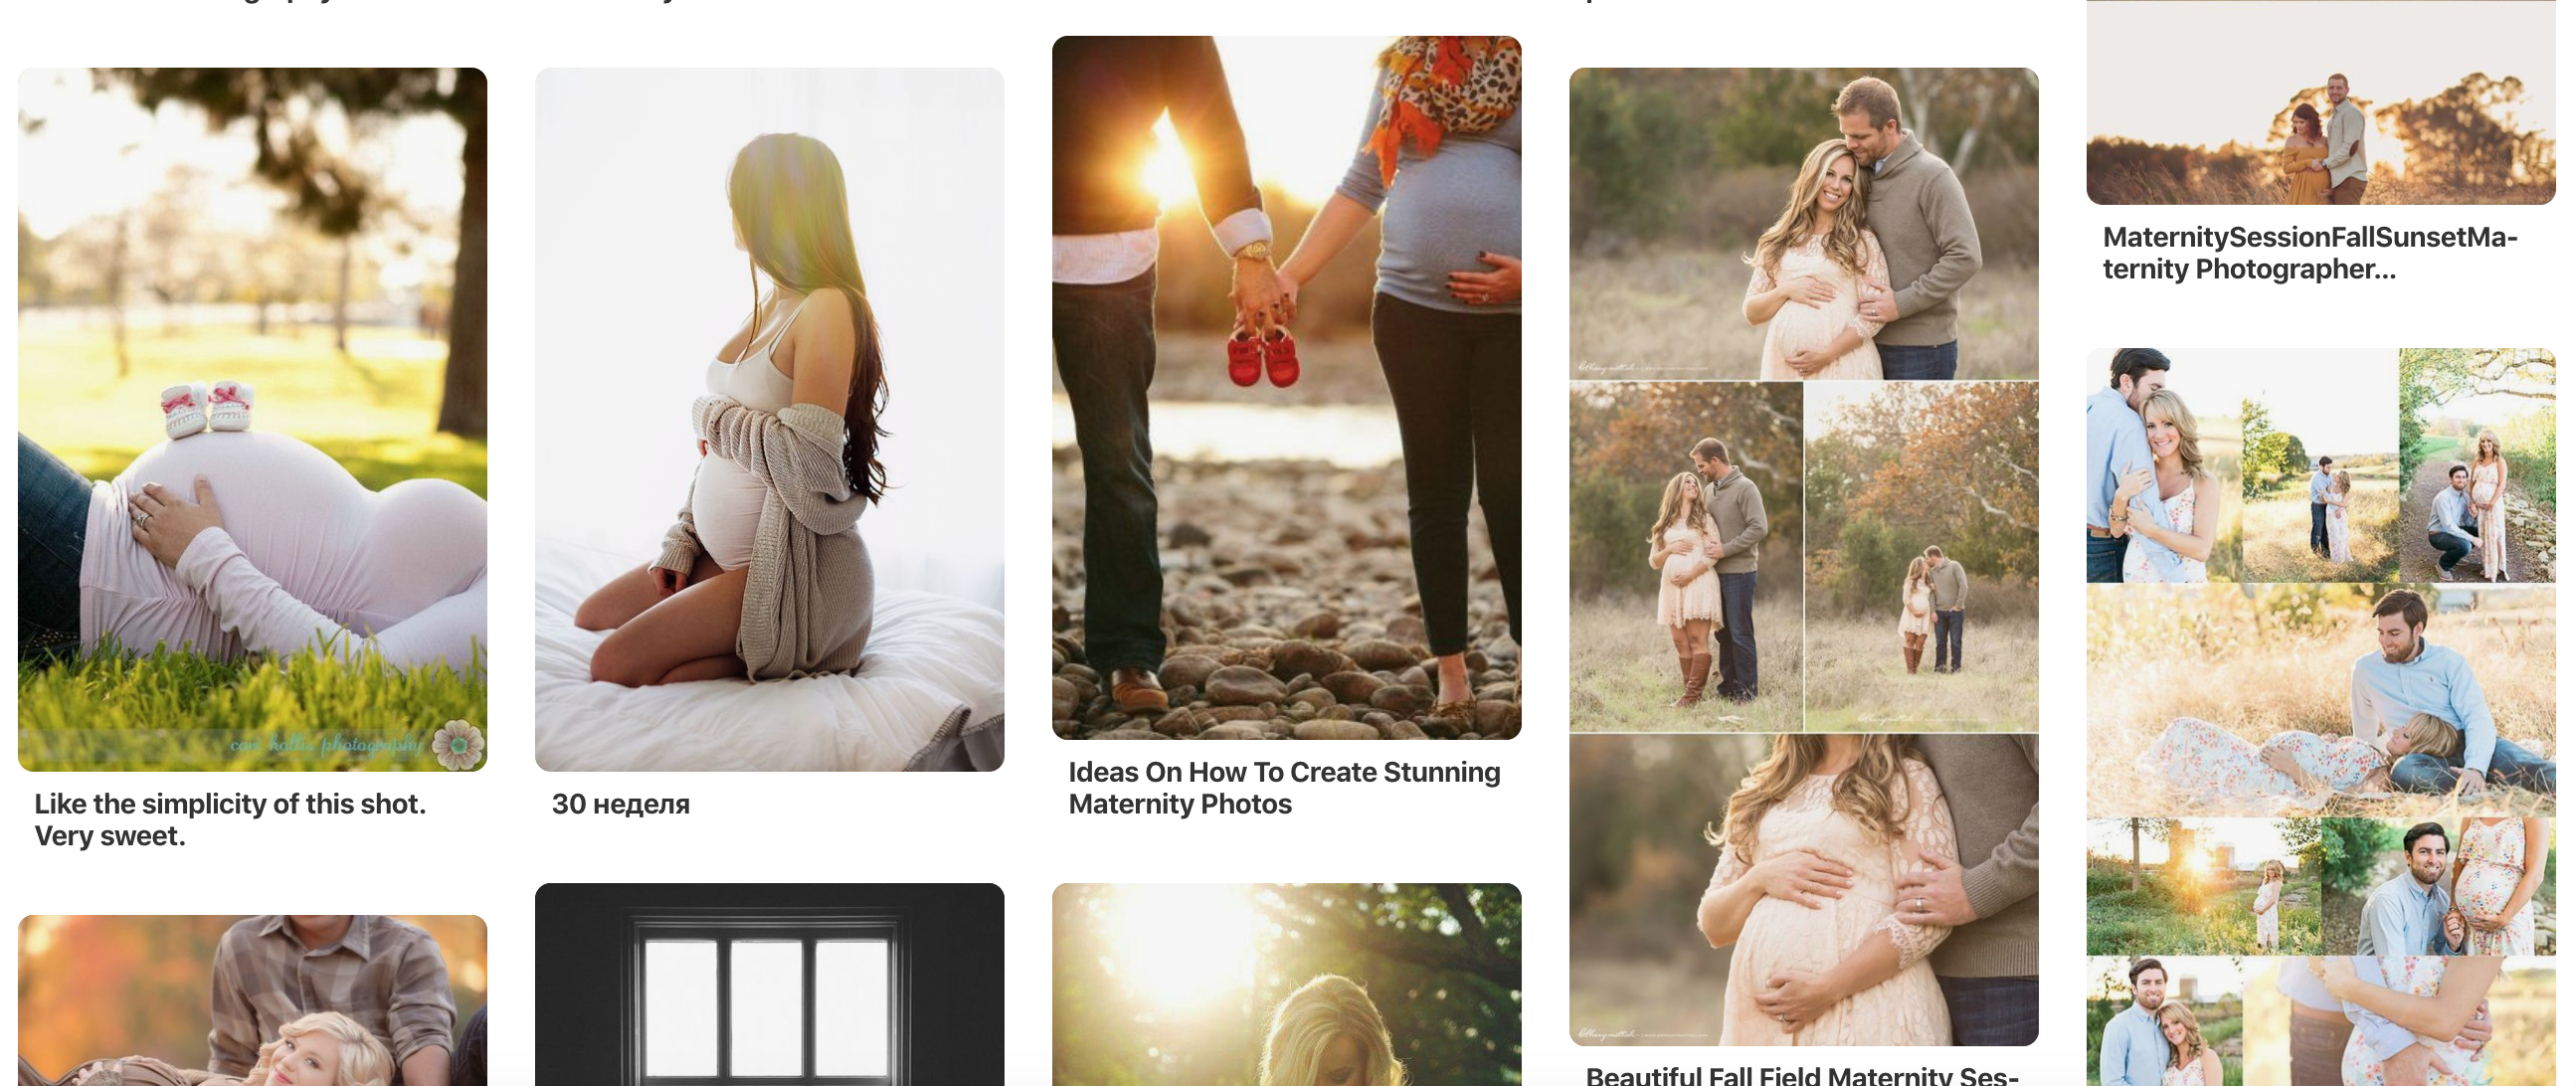
Next step was to do the same exercise myself, and crawl the internet for images that seemed to match this mood board, but were interesting enough to draw inspiration from. An hour of searching for “maternity photoshoot” on Google, Instagram, and Pinterest was enough to give me some inspiration and ideas to try out.
Next step was to figure out a time and place. Since this was late October in New York City, I naturally gravitated towards Central Park and its fall colors. That would give me the outdoor setting I wanted. Combine that with a golden hour timing and I could see this turning out fairly well!
Equipment
I took my trusty Sony A7Riii camera for the shoot. Given the desire to get a bokeh effect in these photos, it was important to pick a lens that had a low enough f-number to allow that. Noobs – a bokeh effect is simply a photography effect that focusses on one thing and blurs out stuff that is closer or further away from the camera than the thing in focus. Here’s an example:

To get this sort of effect, I would need a lens with a big aperture, which corresponds to a small f-number. Next, since I was going for a composition that needed to show a good amount of background and wasn’t intended to have a tight frame, I would need a low focal length. Something in the range of 24-35mm. Given this criteria, I chose the Sony GM 24-70 f/2.8 lens.
Finally for the camera setting, I usually shoot on aperture priority, with a slightly warmer white balance, spot metering and linking that to the focus point. If you use a Sony, you might be familiar with these terms. If not, basically I set things up so that the exposure is metered to the same spot that I’m focussed on. It’s a setting that has worked out quite well for me, so I tend to stick with it :).
The Photoshoot
We arrived at Central Park with an hour to sunset, and got down to business. The key is to try things out, and err on the side of taking lots of pictures. You’ll likely take a bunch of not-so-great photos, but they will give you instant feedback on how to adjust things to get something better on the next shot. For example, here’s the first shot I took:

I like the background, although it could be less blurry. Lighting looks great. Maybe there’s something here.
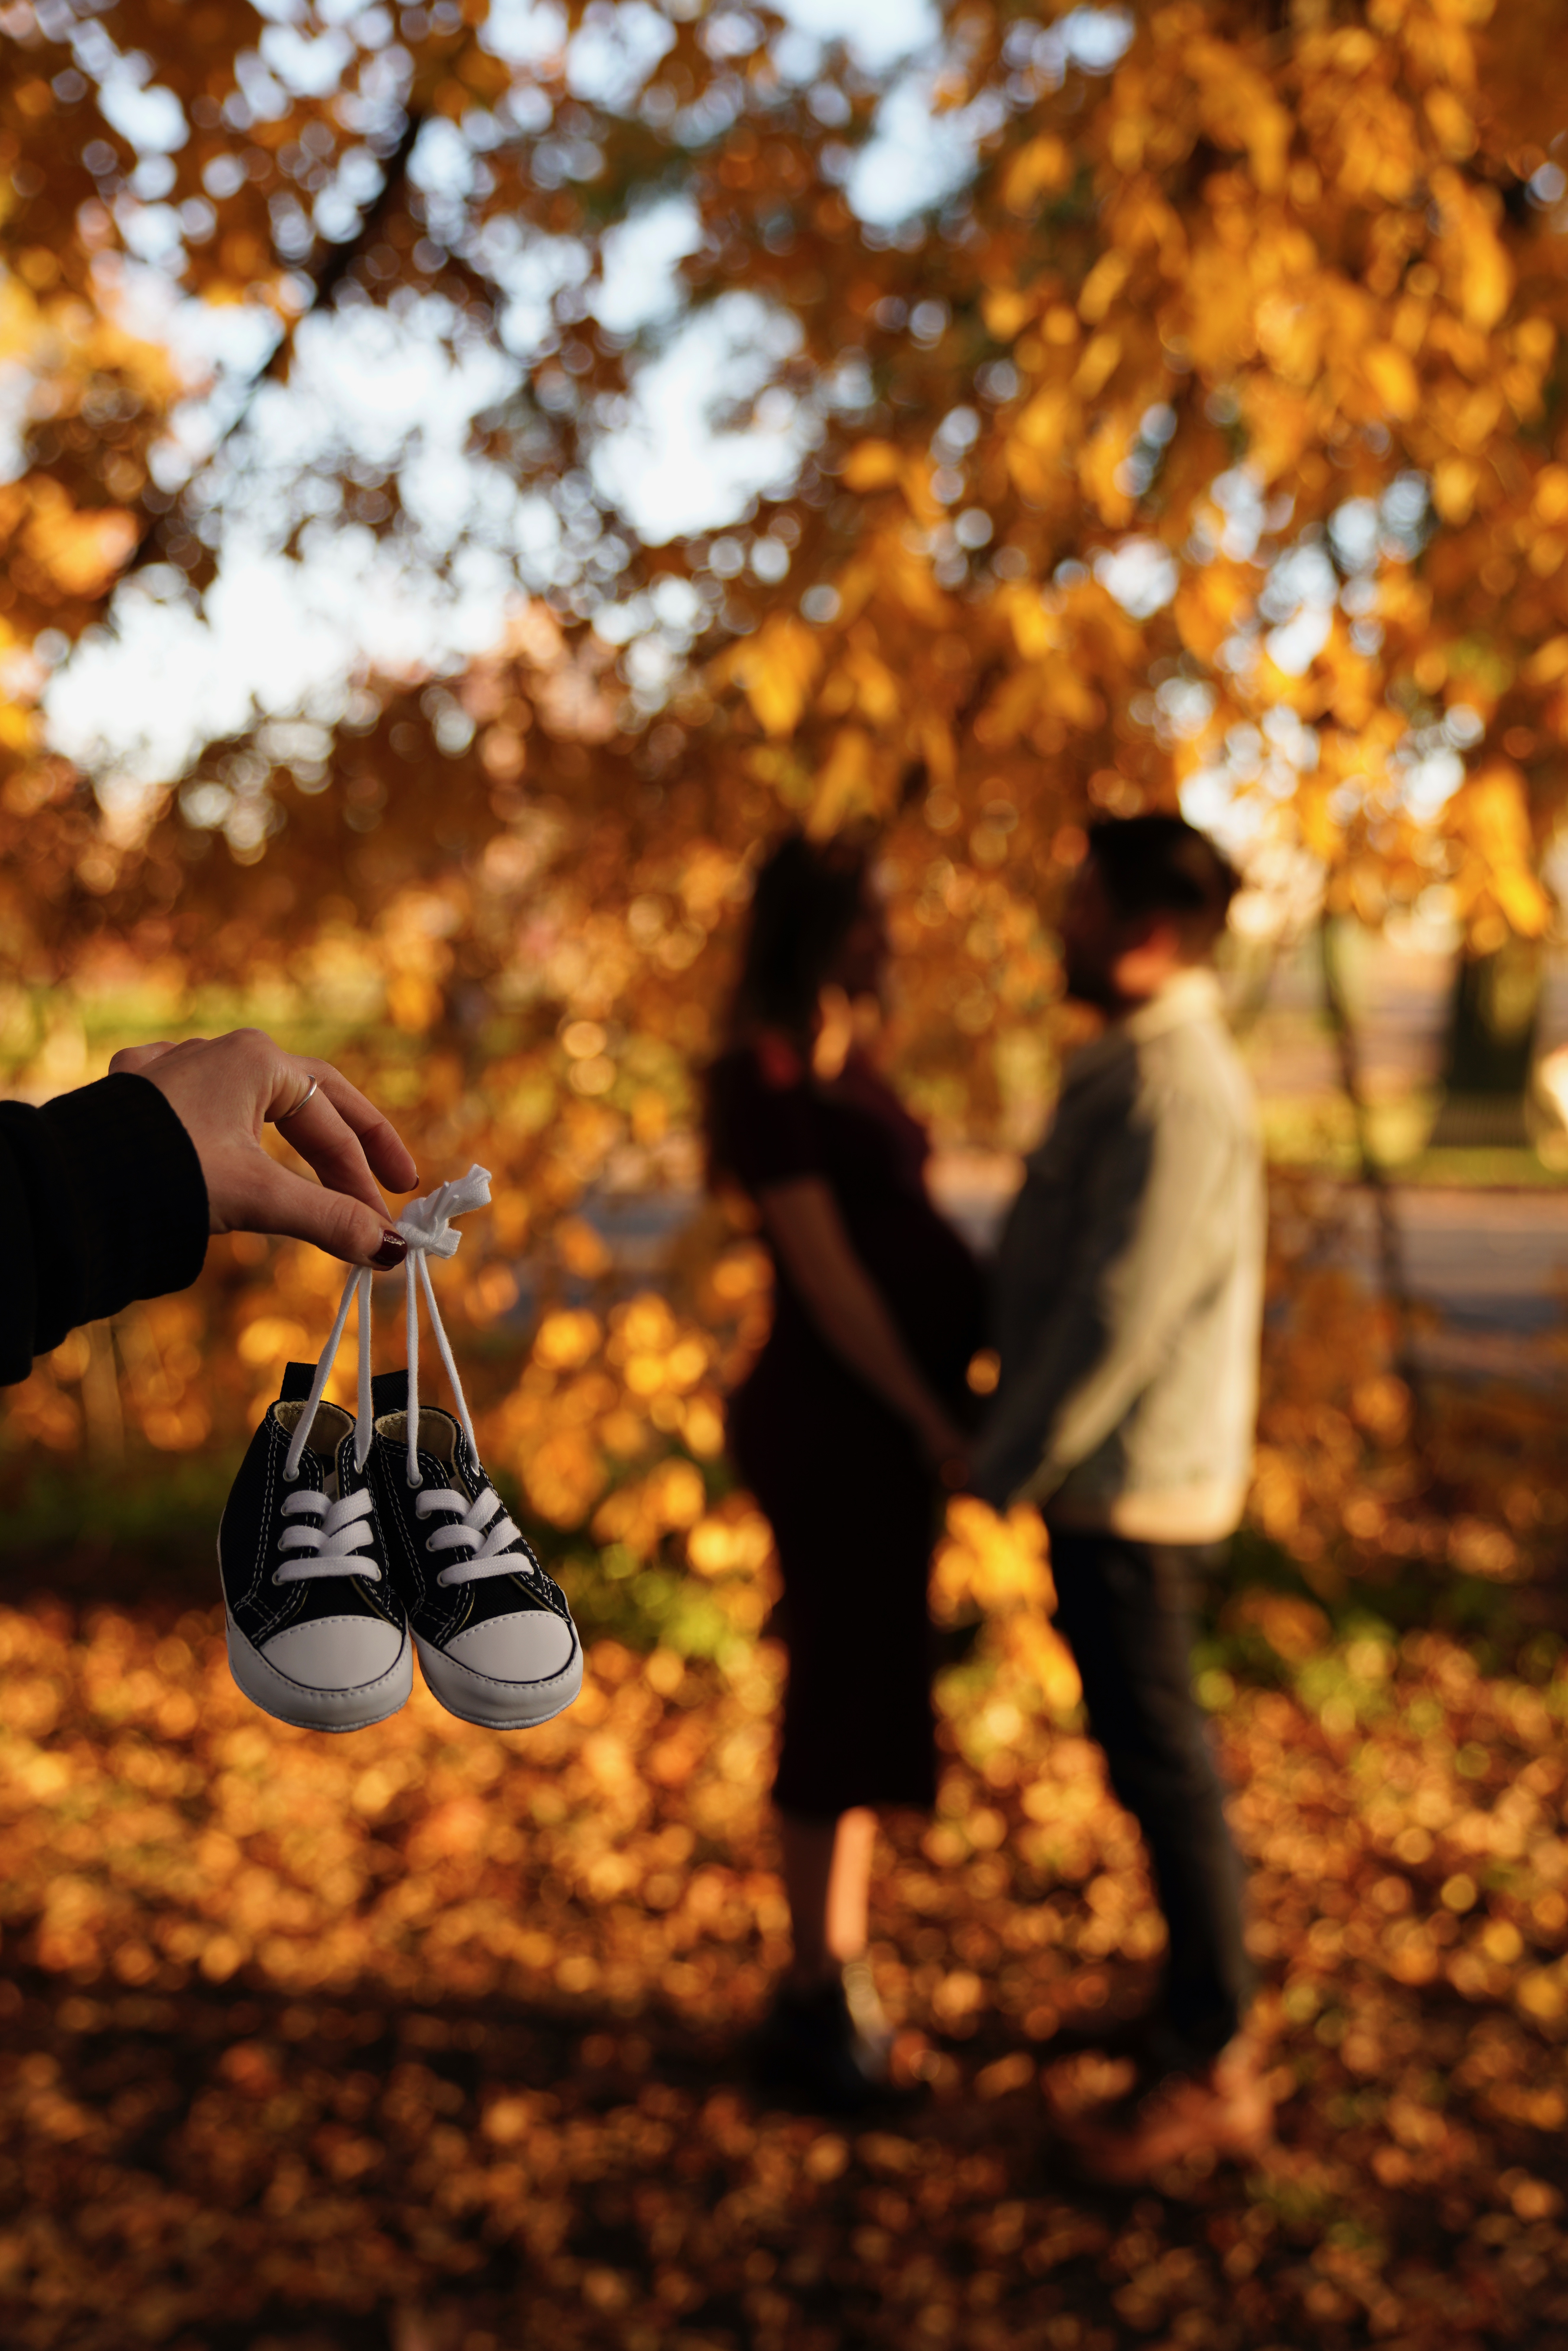
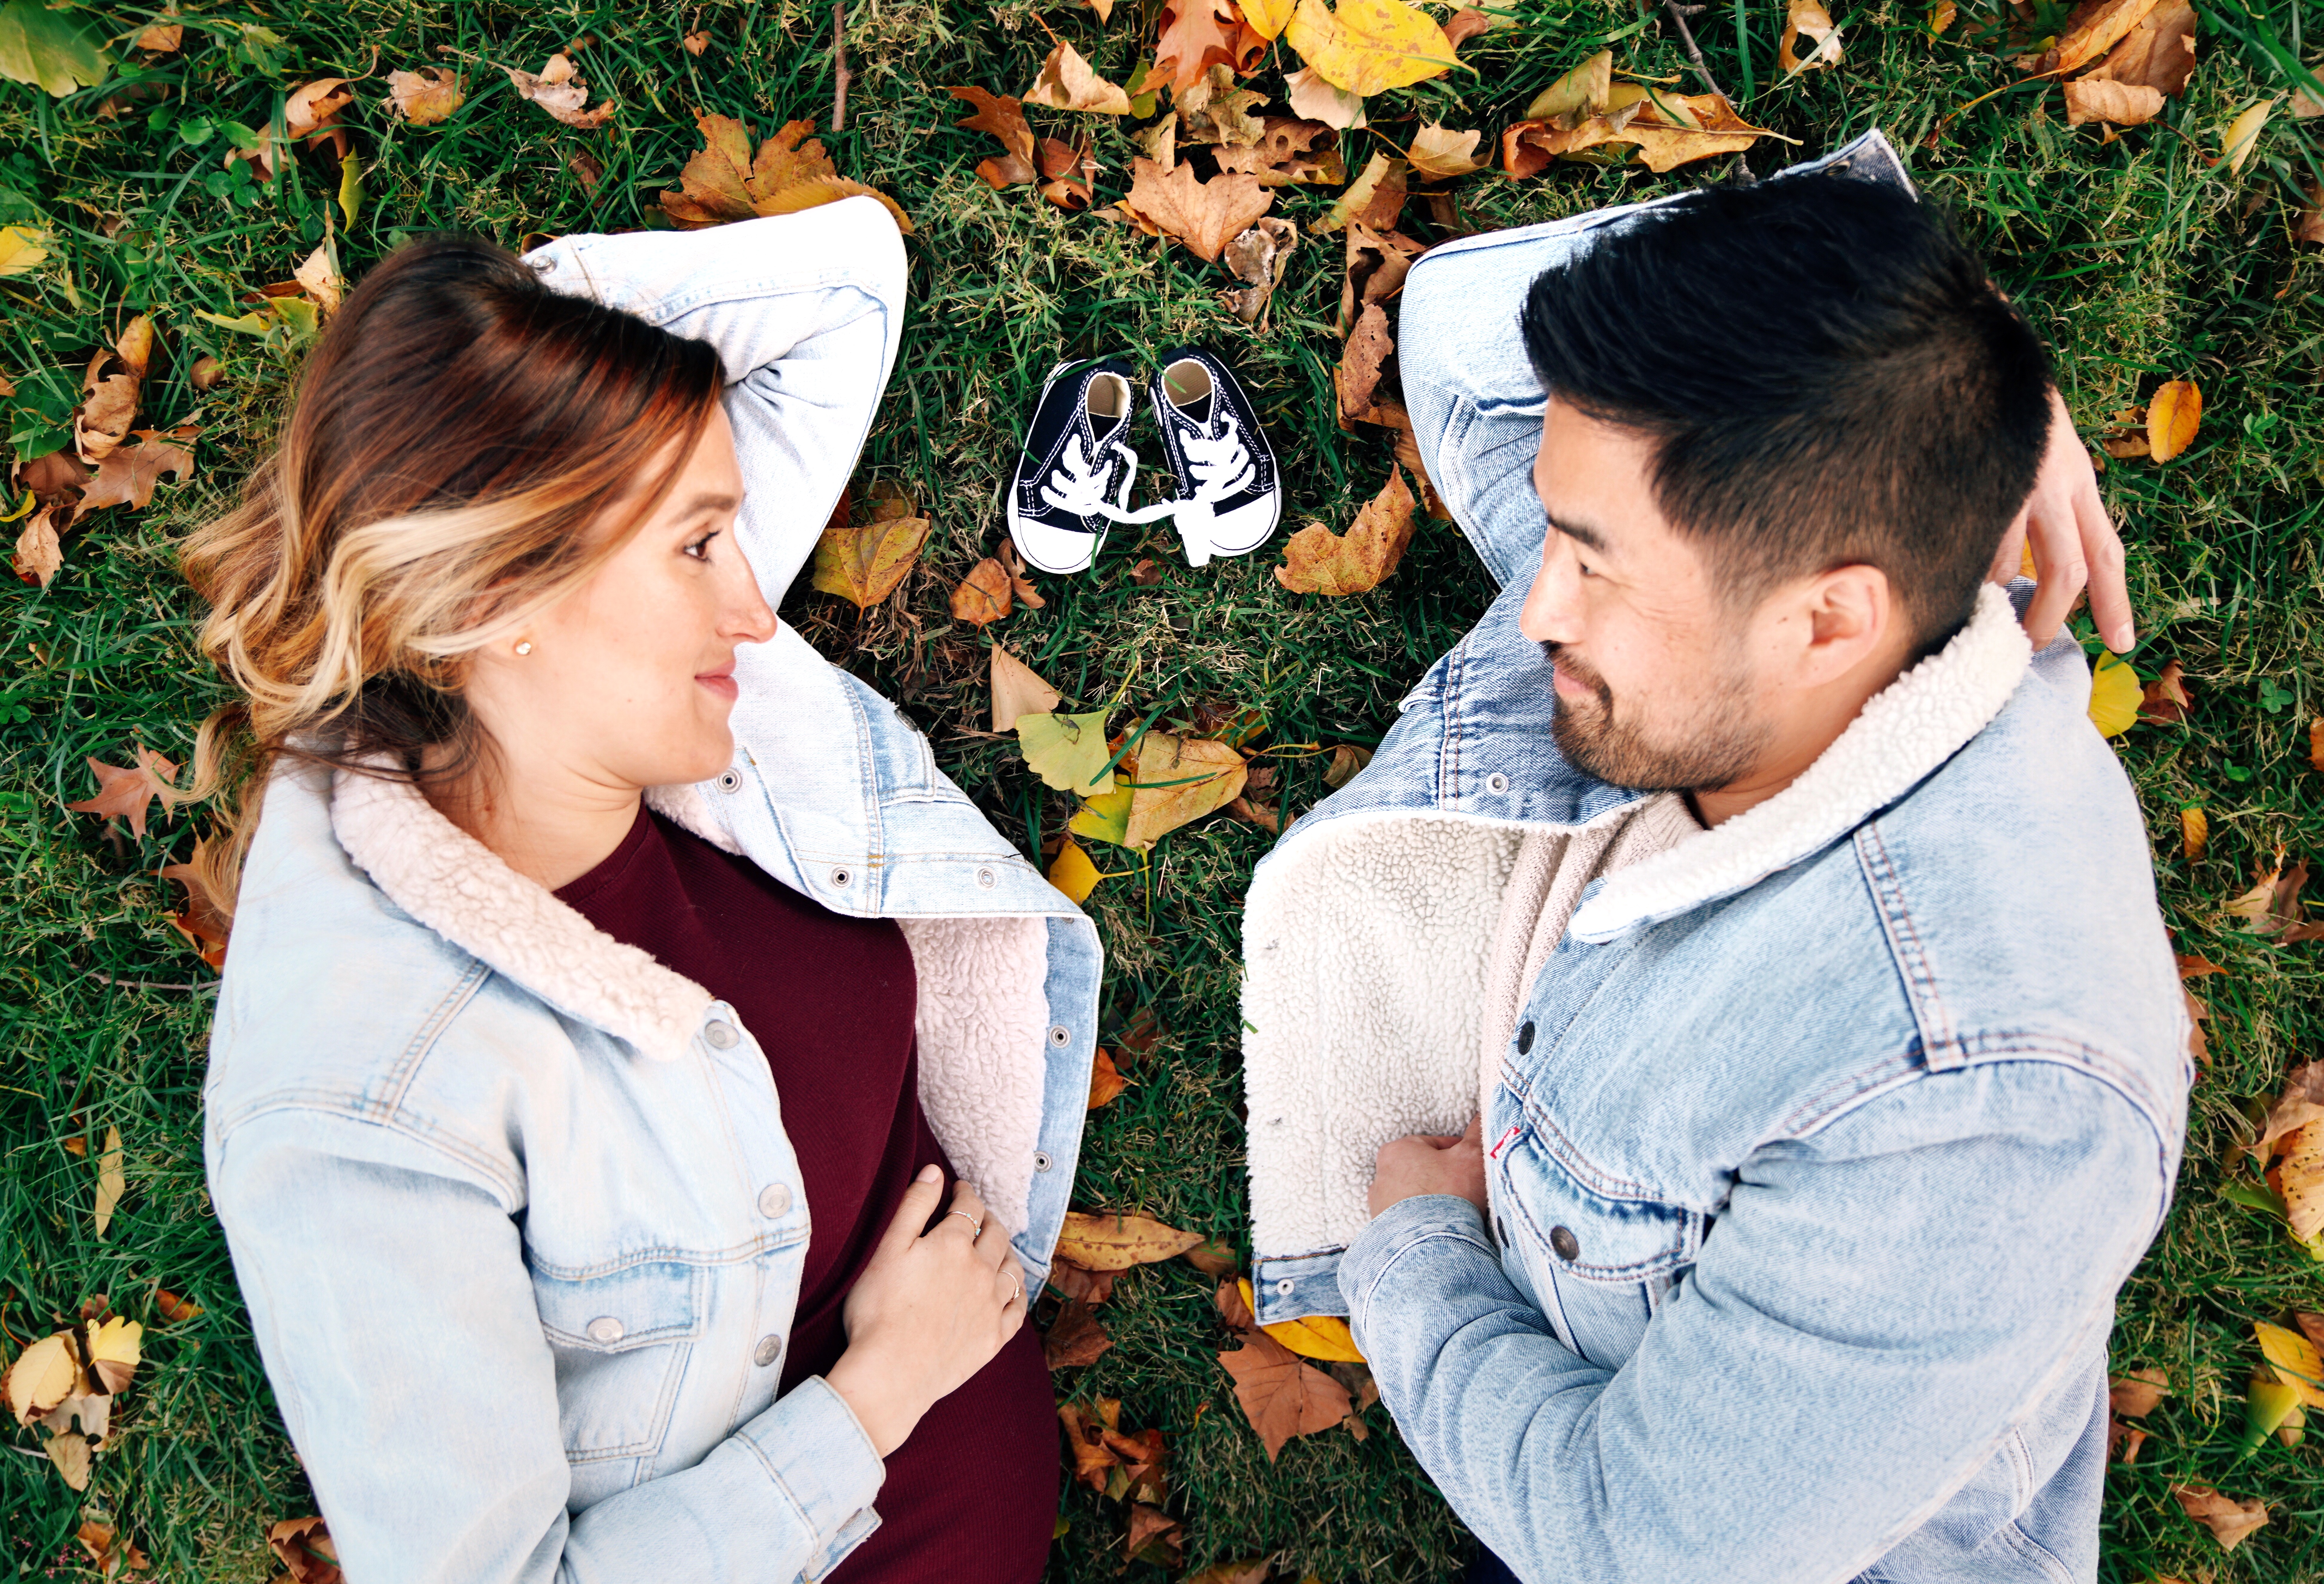
Looking good! But – lighting is not the best, shoes are a bit too high, the hand is a little too dominant. Easy fixes – lower the hand, adjust composition, add some exposure compensation, emphasis on the shoes. And voilà, behold the final product:
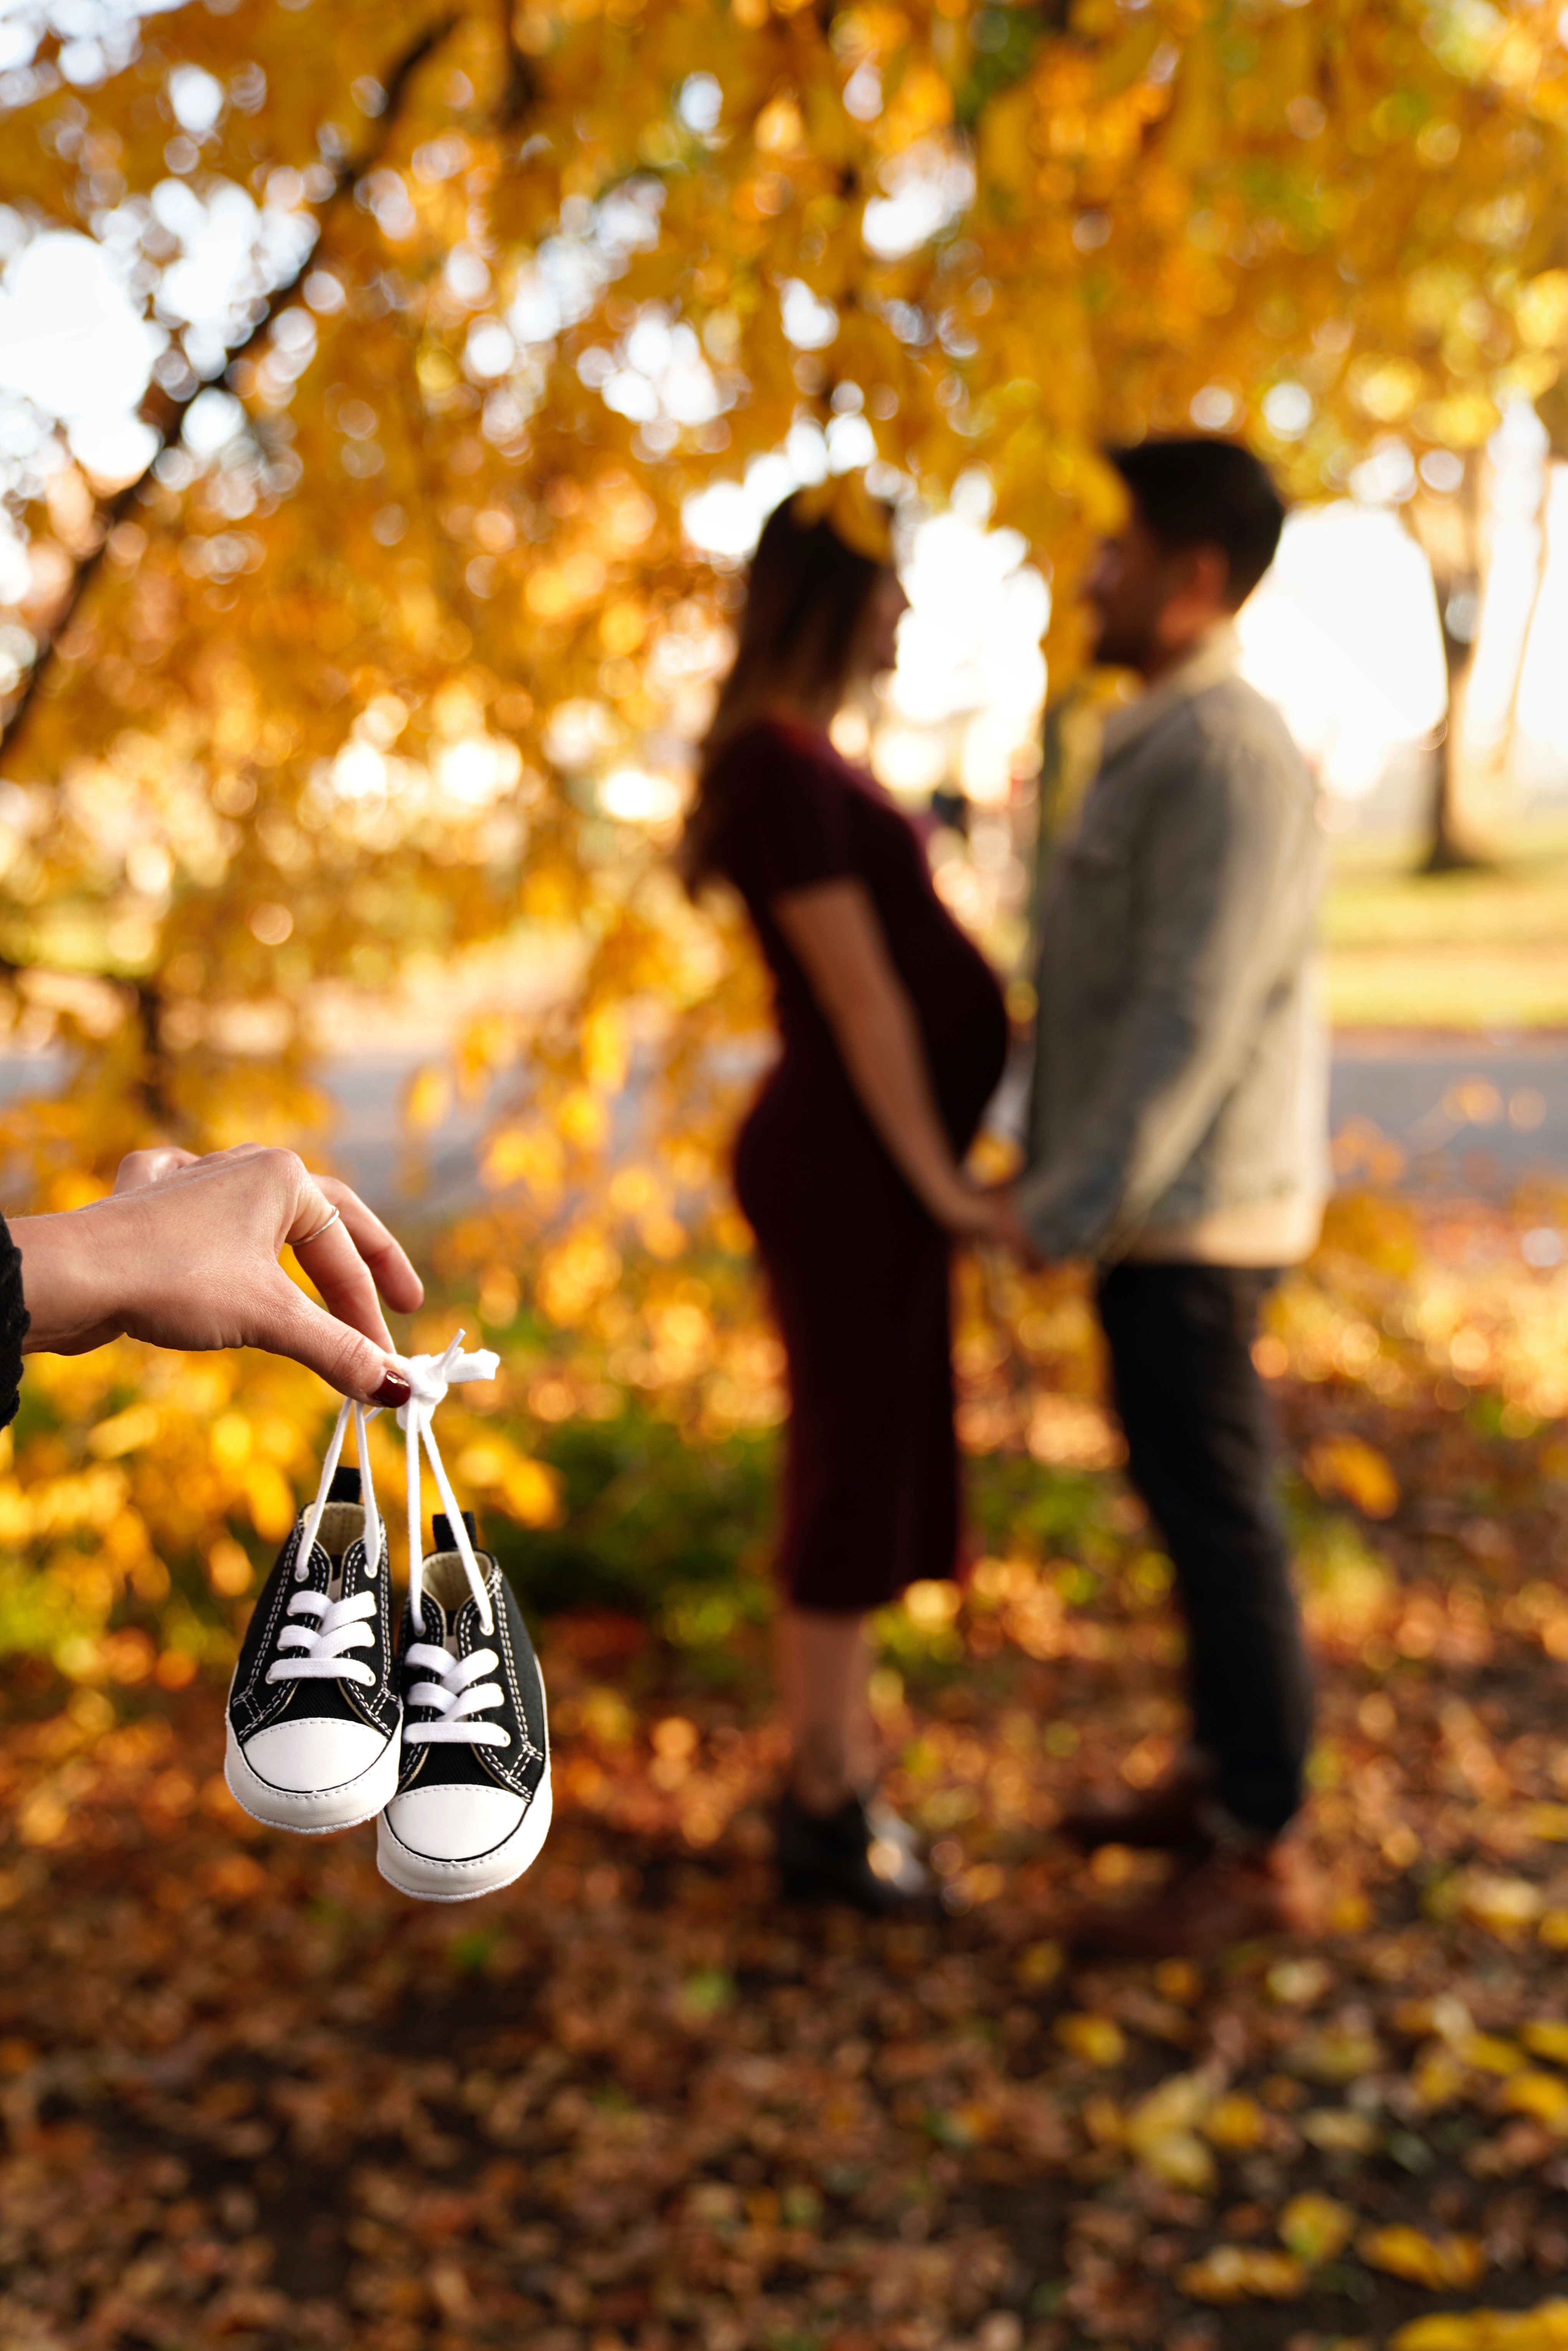
Lighting came out well, the background is blurred, but you can easily make out the baby bump. The golden light is pretty solid. Success!
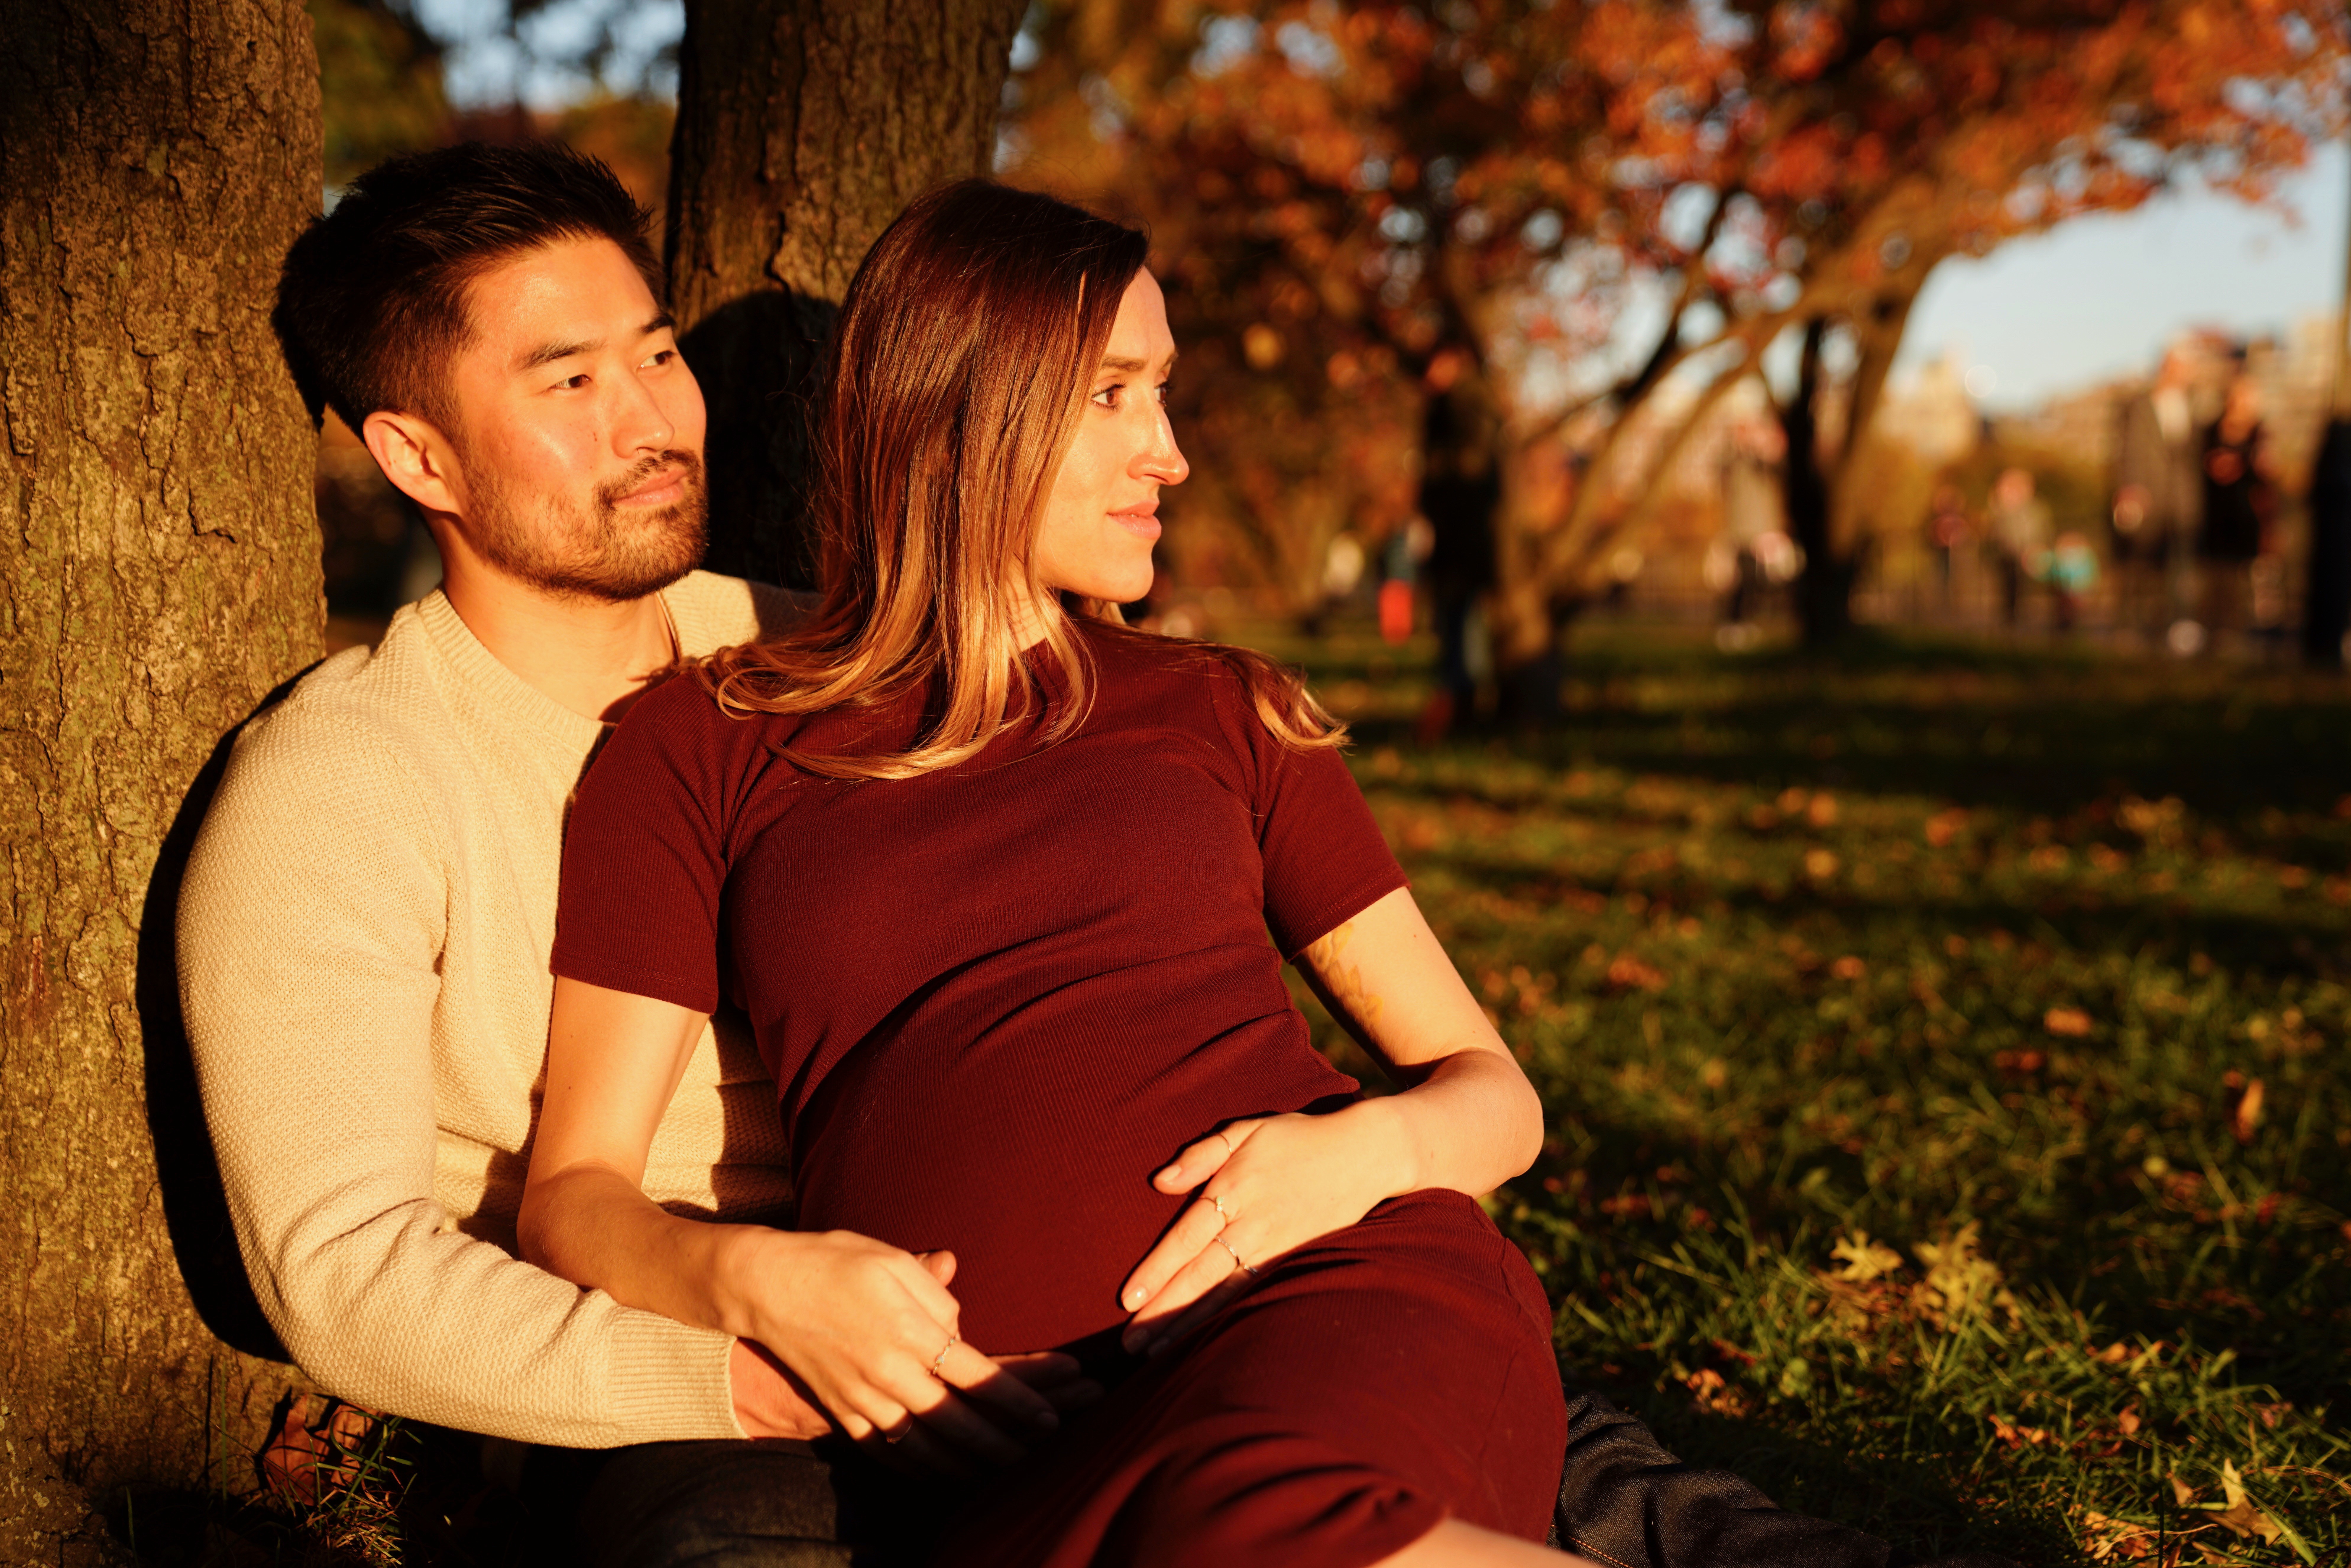
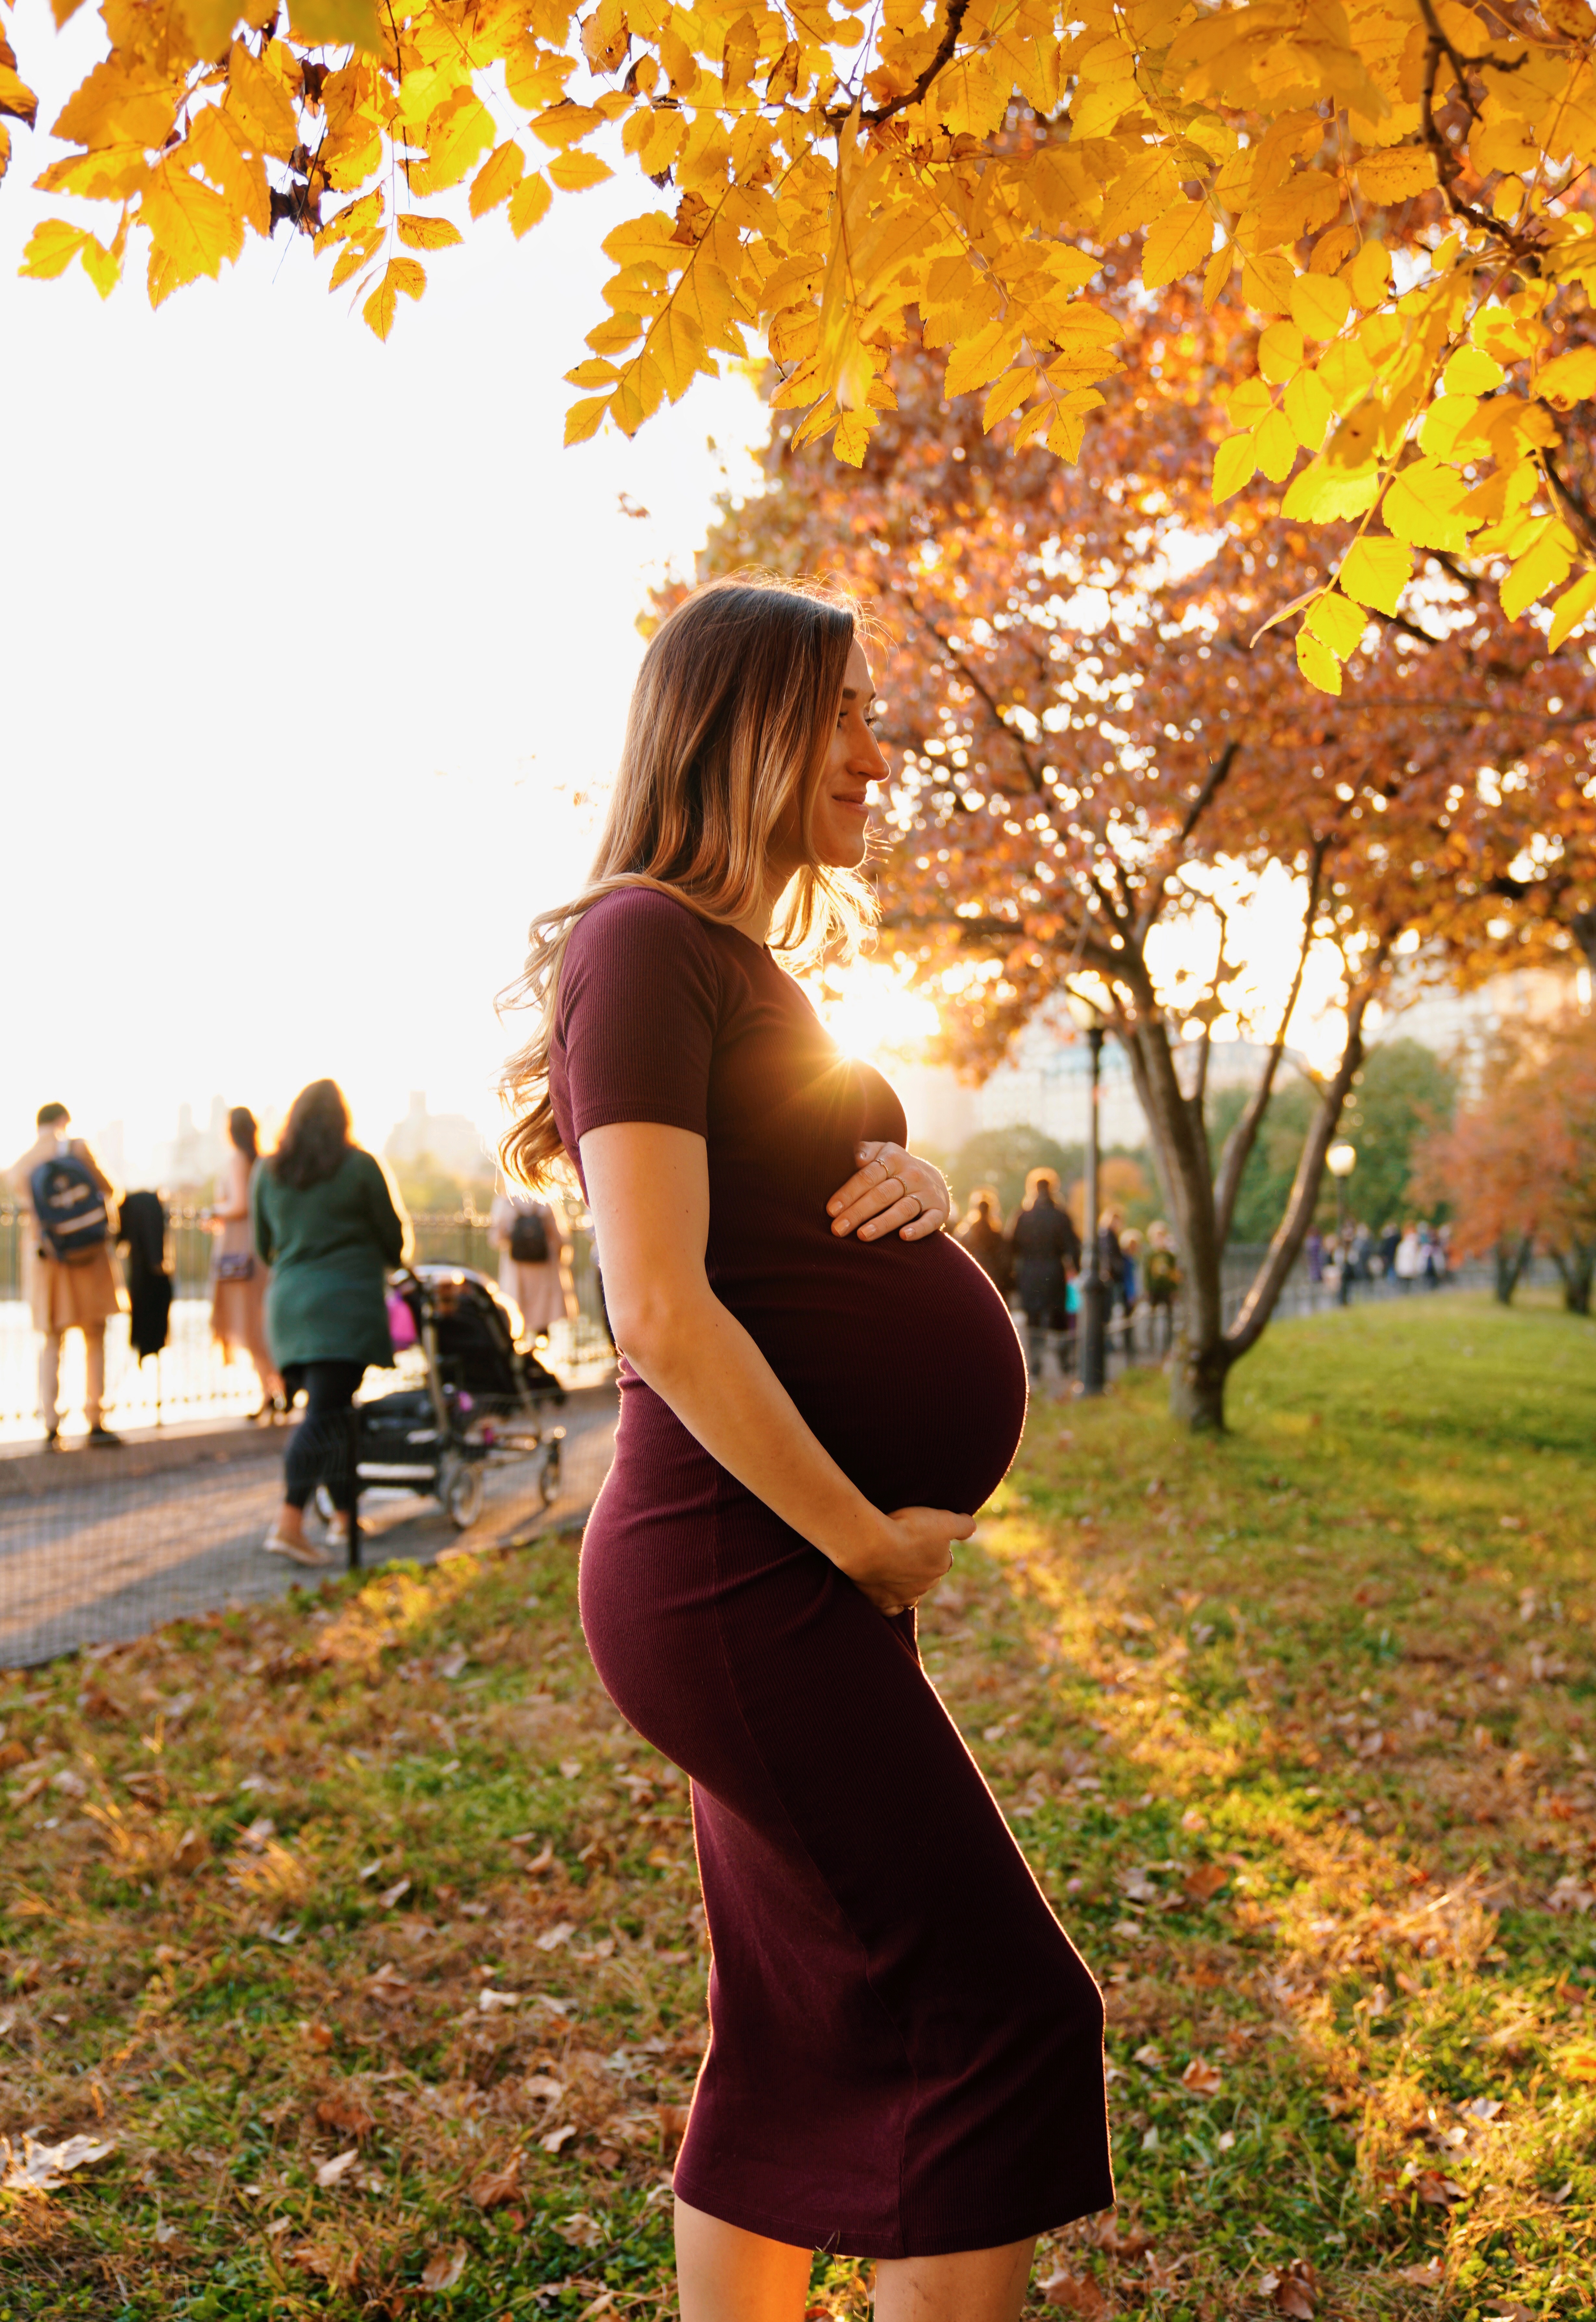
At this point, we kept going, and tried a bunch of things. Below is a selection of the best ones. I’ll emphasize once again that each of these took 10-20 attempts with quick micro-adjustments of composition, exposure and focus. I’d recommend following this process. Pick a rough composition and take a few test shots with the subjects in the photo. Then, make micro-adjustments of all kinds and take several more shots. Perhaps even try going vertical (mobile friendly!) with your framing. Taking multiple shots in one composition will also help improve your chances of ending up with images that are properly focussed.
Post-processing
You’ll notice that the photos above are annotated with the presets I applied to them during post processing. If you have a solid camera like the Sony A7Riii, the photos will come out looking pretty amazing right out of the camera. A little post processing helps add that final icing to the cake, so to speak. It helps bring out the lighting, and allows you to add emphasis on certain objects (like the baby-size converse shoes). I usually just do the post processing using VSCO and Snapseed. Some people swear by Lightroom, so feel free to pick your poison!
Final Thoughts
I enjoyed doing my first maternity photoshoot as much as the lucky couple enjoyed seeing these photos. I learned a lot in this process, and hopefully this note will help you navigate your first shoot as well!
